Environment Lighting
Set up environment lighting and skyboxes in Blender and export them to the web. Use any HDRI you want — Needle Engine automatically compresses it for fast loading and low memory usage.
Quick Start
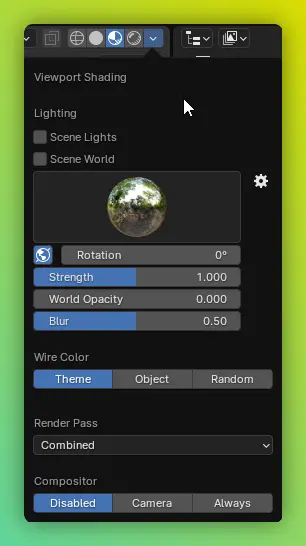
Step 1: Assign an Environment Map
- Open Viewport Shading options (top right of the 3D viewport)
- Assign an HDRI / EXR cubemap
- Set
World Opacityto 1 to make the skybox visible in the browser
Step 2: Use a Custom HDRI
You can use any .exr or .hdr file — including large, high-resolution environment maps. Needle Engine takes care of compressing them for you during the build.
Where to find free HDRIs:
- Needle HDR Library — Free, ready-to-use environments
- Poly Haven — Hundreds of free CC0 HDRIs
- ambientCG — Free PBR materials and HDRIs
Automatic Compression (FastHDR)
You don't need to worry about environment map file sizes. When you build your project or deploy to Needle Cloud, Needle Engine automatically converts your environment maps into the FastHDR format. This means:
- Use any size — 2K, 4K, or larger HDRIs all work great
- Automatic compression — files get dramatically smaller (e.g. a 21 MB EXR becomes ~7 MB)
- Fast loading — environments load in milliseconds instead of seconds
- Low memory usage — uses up to 21x less GPU memory than raw EXR
- Same visual quality — your lighting and reflections look identical
This all happens behind the scenes during the build step — no manual work required.
Preview compressed results locally
Want to see how your scene looks with compression applied? Enable Auto Compress in the Needle Engine dropdown above the viewport. This gives you a local preview of the optimized result.
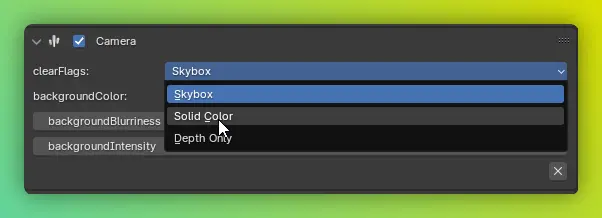
Environment Camera
By default, the environment map is used for both lighting (reflections and ambient light) and the background (the visible skybox).
You can control the background appearance separately using the environment camera settings.
Ground Projection
Reshape the lower part of the HDR sphere into a flat plane that aligns with your scene's floor — objects appear to stand inside the environment rather than floating inside a sphere. Common in car configurators and product hero shots.
Reflection Probes
For scenes with multiple rooms or distinct lighting zones, use reflection probes to capture local reflections. Objects automatically use the closest probe.
Tips
Quality:
- Higher-resolution HDRIs (4K+) give sharper reflections, especially on glossy surfaces
- FastHDR compression preserves quality — don't downscale your source files
Performance:
- FastHDR environments load fast even on mobile devices and low-end hardware
- If you don't need a visible skybox, you can still use an HDRI for lighting only by setting
World Opacityto 0
Troubleshooting:
- If colors look off, check your Color Management settings — set
Viewto Standard - If your scene has a greenish tint after building, see the FAQ
Next Steps
- FastHDR Deep Dive — Learn more about how environment compression works
- Lightmapping — Combine environment lighting with baked lightmaps
- Optimization Guide — More ways to optimize your scenes for the web
Need Help?
- Discord Community - Ask questions about environment setup
- Forum - Share your projects and get feedback